Sure! Here's the rewritten content in English:
---
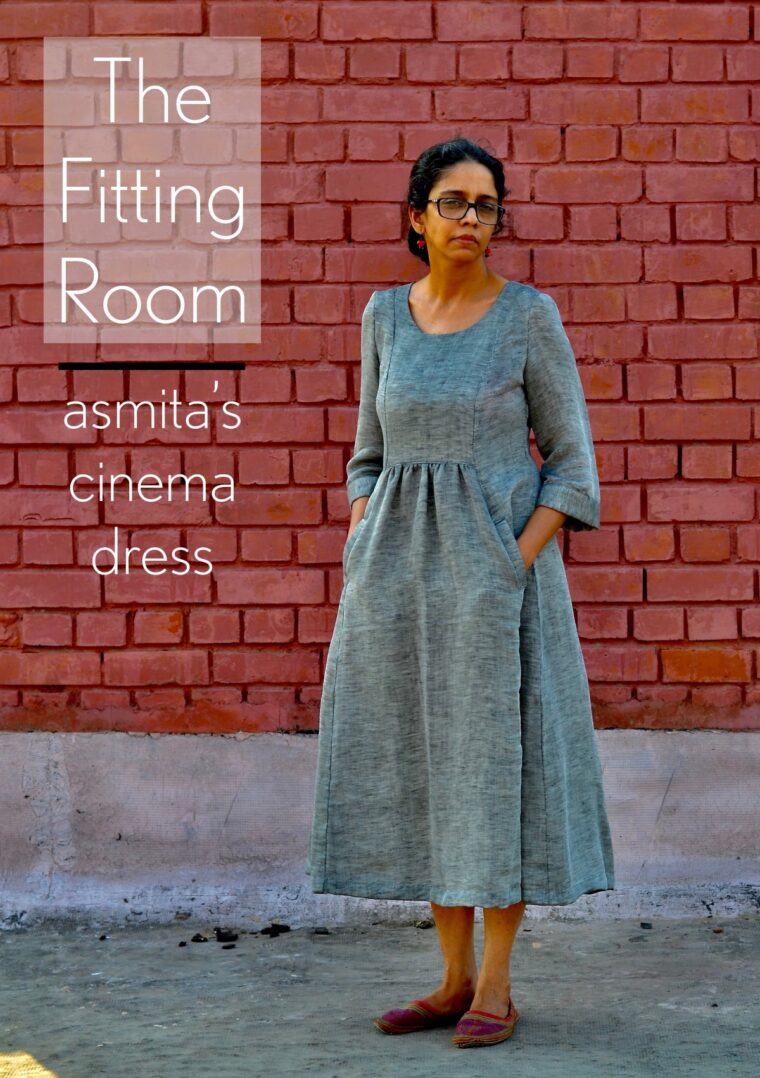
We’ve all been there—feeling disappointed when a garment doesn’t turn out quite as expected. But Asmita didn’t let that stop her. She was determined to get the perfect fit for her Cinema Dress, and she did just that. This is the latest addition to our *The Fitting Room* series.
When I first started sewing with the intention of creating clothes tailored just for me, I was eager to explore patterns from Liesl + Co. Their instructions are renowned for their clarity, and I was confident they’d help me craft my dream dress. After enjoying the Hide-and-Seek Dress for kids multiple times, I was thrilled when the Cinema Dress pattern came out. I knew immediately I wanted to give it a try. However, my initial attempt last year didn’t go as planned—it was a major letdown.
### First Attempt
My measurements are as follows: high bust 33 inches, bust 34 ½ - 35 inches, waist 30 inches, and height 40 inches. Based on the finished measurements, I decided to attempt a size 4 for the bodice and grade it to a size 10 at the hips. I applied this grading method to both the front and back side panels and cut a size 10 for the front and back skirt pieces.
#### Results (and reasons for disappointment):
1. My dress looked nothing like the model on the cover. It was far too curvy around the waist, making me feel like I was wearing something meant for a child—or worse, someone pretending to be Goldilocks.
2. The dress turned out to be too short. I made View A without paying attention to the finished measurements.
3. On the plus side, I appreciated the fit on the top, though I found the yoke to be too short.
4. I didn’t bother with a muslin, cutting into some cherished fabric (especially for the yoke) and simply hoped my body shape would match my vision.
This first attempt left me discouraged from sewing dresses for a while. But recently, I stumbled upon another version of this dress online and realized it was time to give it another shot.
This time, I knew I’d start with a muslin.
### Muslin #1
The primary focus for improvement was the grading from size 4 to a larger size, along with checking the length. Here are the changes I made in Muslin 1:
1. I created Version B and shortened it by 1 ¼ inches at the bottom lengthen/shorten (L/S) line to adjust for my height (5'4").
2. Instead of grading from a size 4 to 10, I decided to grade from 4 to 8.
3. Unlike in the previous version, where I sharply curved out after the first L/S line near the yoke, I used a hip curve ruler and gradually graded from size 4 to 8. I began this adjustment at a lower point than before.
4. Lastly, I skipped the V-neckline since I wasn’t fond of it in my first version. I simply deepened the neckline curve by about ⅛ inch.
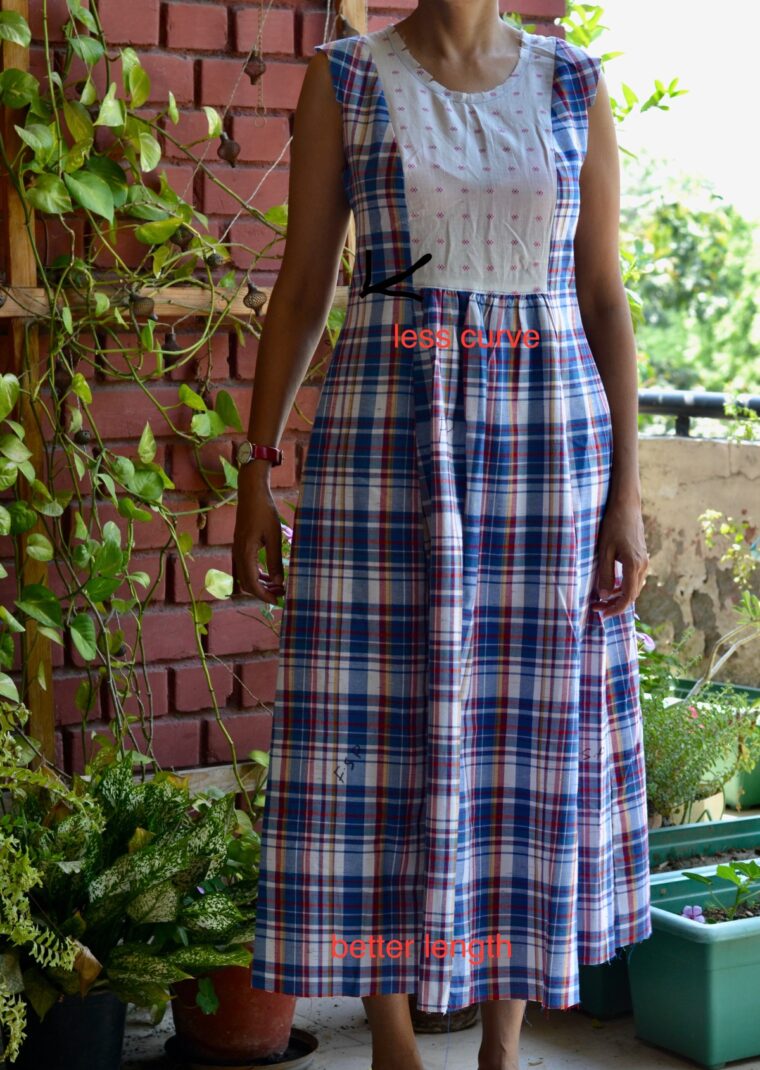
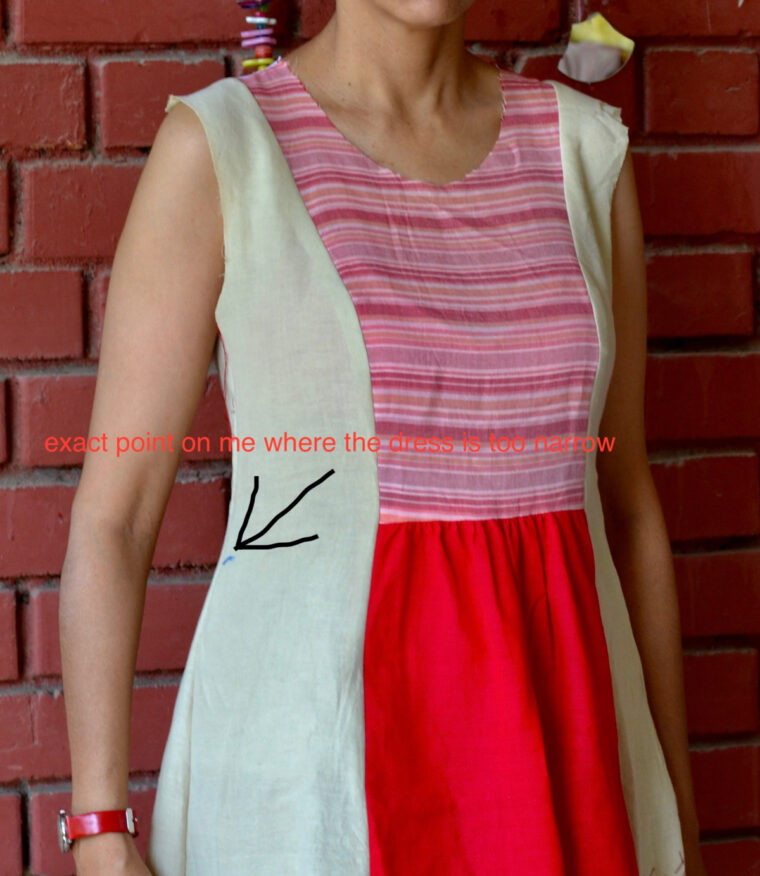
While I was satisfied with the length and the side curves between my high waist and high hip, I wasn’t completely convinced. Then, it hit me—I wanted more ease at the waist. With a waist measurement of 30 inches, the size 4 provided only 1 inch of ease, which wasn’t enough for my liking. That was my breakthrough moment!
### Muslin #2
For Muslin 2, here are the adjustments I made:
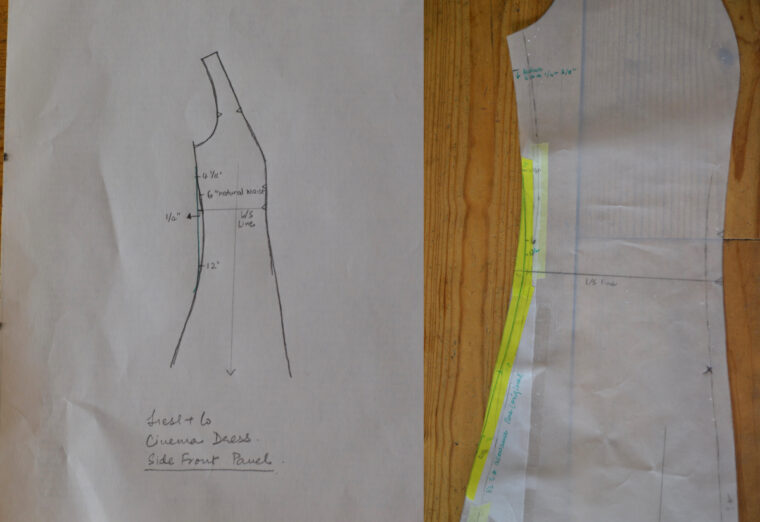
1. I re-drew the outer line of the flat paper pattern to add more ease around my waist. To do this, I extended the top L/S line of the side panel (front and back) horizontally by an additional ¼ inch. I wanted less curvature from about 4 ¼ inches below my armpit to 12 inches below, so I re-drew the pattern to reduce its curve.
This final muslin delivered exactly the silhouette I had in mind—the added ease at the waist prevented the dress from spreading at the hips. It finally achieved the more mature look I was aiming for.
### Lessons Learned
1. **Muslins:** One or more until I get it right! I still regret cutting into my beautiful hand-block-printed bird fabric for my first dress. Saving up for the dress I truly wanted would have been worth it!
2. I’ve never extended a pattern and redrawn entirely new lines outside of the existing markings, as I did for Muslin 2, to add ease to the waist. I’m glad I stayed true to my vision and persisted to make this dress a reality using Liesl’s pattern.
3. As a beginner, I still struggle with lengths. While it may seem simple, moving forward, I’ll always make the first muslin in the length I envision, and not skimp on fabric.
A note on the fabric: This is a triple-layer gauze cotton fabric I bought at Mood in New York 12 years ago. It was special then and remains so today. Though it was challenging to work with due to excessive fraying, the weight it adds to the dress is lovely. Despite my frustrations, the dress feels like a cool, gauzy blanket—perfect for summer!
Lastly, I want to express my gratitude to Rachel from @oakbluedesigns. Her Cinema Dress inspired me to take another stab at this project, and she guided me through the muslin-making process and grading to a larger hip size.
Though challenging, I thoroughly enjoyed the journey this dress-making process took me on. I can already spot areas for improvement, but for now, it’s a massive leap from the first version I made last year. I know I’ll love wearing it in the months to come.
*The Fitting Room* series aims to demystify garment fitting. We hope these real-life stories will inspire and guide you to create clothing that fits you just the way you desire.
---
I hope this rewritten content meets your expectations!
Horsehair Ribbon Hats
Holiday Beach Hats,Horsehair Ribbon Hats,Summer Cloche Hats,Ladies' Sun Hats
SHAOXING YONGJING FASHION HATS & ACCESSORY CO.,LTD. , https://www.yongjingchurchhat.com